As much as I appreciate that I don’t have ice buildup and the need
to defrost my frost free freezer, I don’t appreciate how frost free
freezers can freezer burn the food inside. I tried just about every
food storage freezer hack, including freezing homemade broth in Mason
jars. I still ended up with freezer burned food and more often than
not, the glass jar would crack or split open after awhile in the
freezer.
The only way I found
to prevent freezer burn is to preserve our food with a Food
Saver vacuum
sealer similar
to this one
It is especially helpful when it comes to organizing frozen food
since I don’t have a separate chest freezer.
(Disclosure: I am
including affiliate links for your convenience.)
I wondered can you
vacuum seal liquids and freeze them in Food Saver bags without making
a mess?
Yes. Yes you can.
Here’s how.
Save this post to your Pinterest boards for later! Share it with your friends!
How to Use Vacuum Seal Bags for Sauces and
Liquids
Vacuum sealing
sauces and liquids is so easy, I practically don’t have to write a
tutorial for how to do it.
But I will.
‘cause I’m a
giver.
You will need:
Vacuum Sealer - This tutorial focuses on a Foodsaver vacuum sealer because that is what I have. This technique will work with other brands that have similar features to the one in this tutorial.
Vacuum bags –
DO NOT CHEAP OUT ON BAGS! I’ve tried other brands of vacuum sealer
bags and they either won’t hold a seal and the food eventually gets
freezer burn or they won’t seal at all. I’ve never had that
problem with Foodsaver vacuum sealer bags and while they cost a
little bit more, they are worth it in the long run. You can buy
Foodsaver vacuum sealer bags here
Sauce, soup, broth,
liquidy casserole things, or whatever you want to vacuum seal and
freeze. Today I am vacuum sealing home grown roasted tomato sauce to
preserve in the freezer.
Step by Step How to Vacuum Seal Liquids
Tutorial
In this example I am freezing tomato sauce in one cup portions to
roughly equal the eight ounce tomato sauce cans we use most of the
time.
1. Cut and seal the bottom of the vacuum sealer bag to size as
needed.
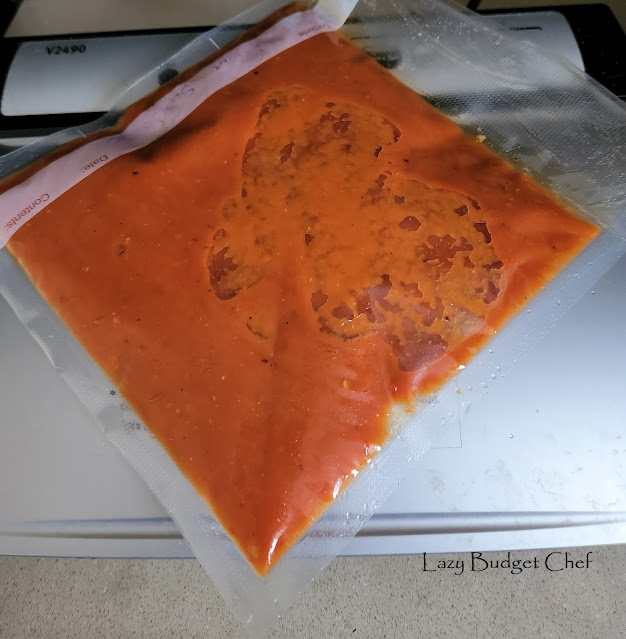
2. Pour the liquid or liquid item into the vacuum sealer bag being
careful not to get the liquid on the sides of the top of the bag. A
saucy top may keep the bag from sealing properly.
3. Put the bag into the Foodsaver and lock the lid.
Since spilling things is my superpower, I clean any sauce splashes
from the top of the bag that might prevent it from sealing
completely.
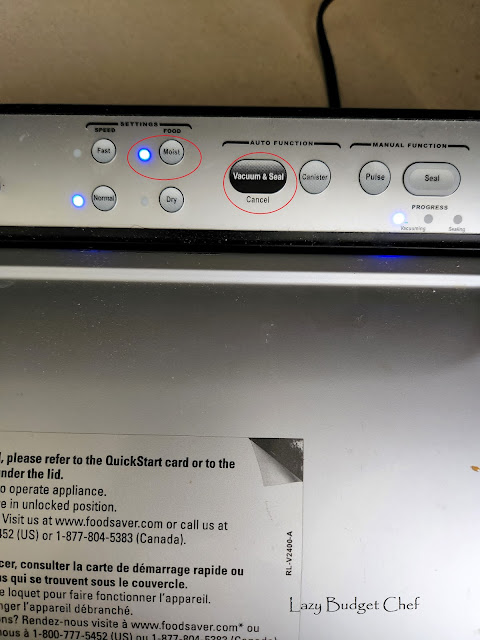
4. Select the Moist setting, then press the Vacuum and
Seal button.
5. Remove the sealed bag from vacuum sealer and you’re done!
You don't have to worry about the air bubble in the bag after it vacuum seals. It is there to allow the liquid to expand after it is frozen.
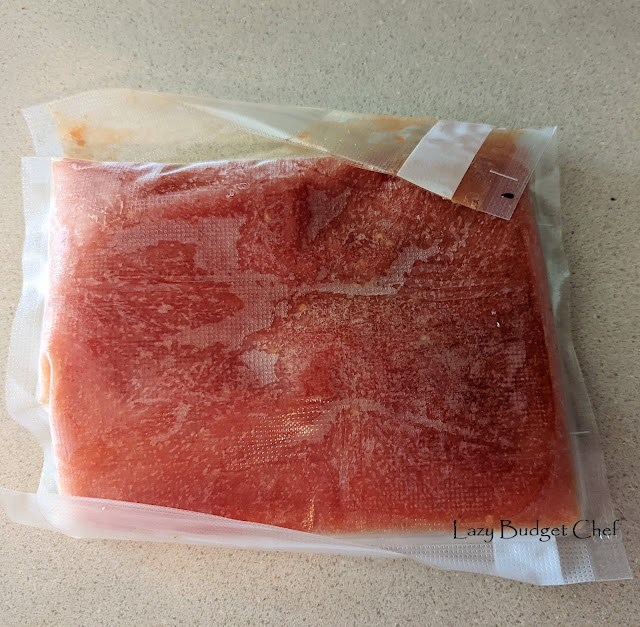
Frozen!
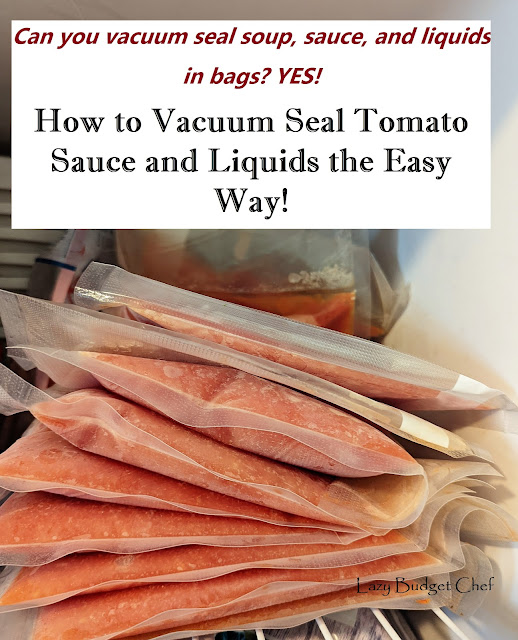
I like put the tomato sauce bags laying flat in my freezer until
the contents fully freezes so it is thin and takes up less space.
Looking for more vacuum sealing and food storage ideas? Check out the following options - and more! - below!
Did you like this post? Get more like it by subscribing to the Lazy Budget Chef RSS feed


Comments
Post a Comment
Share what you have to say! The good and the not so good. Disagreeing is fine but no hair pulling please. Thanks!